From Sketch to Showcase: Creating Stunning Acrylic Standees
For modern artists, indie game developers, and pop culture creators, there is nothing quite like the feeling of seeing your digital artwork transform into a physical object. While art prints and stickers will always have a place in a creator’s portfolio, fans are increasingly looking for unique, premium items to decorate their spaces. Among the most popular collectibles driving this trend today is the acrylic standee.
Bridging the gap between affordable 2D illustrations and high-end, expensive PVC figures, these miniature desktop displays give your artwork a literal third dimension. They add presence, catch the light beautifully, and turn ordinary desks into personal art galleries.
Conceptualization and the Power of Silhouette
The journey begins on your drawing tablet or sketchbook. However, designing for an upright display requires a shift in mindset compared to designing a standard flat print. You aren’t just filling a rectangular canvas; you are designing a shape that must interact with physical space.
Focus on Dynamic Silhouettes
A simple, static “passport photo” pose where a character stands completely straight can look flat and uninspiring when manufactured. Instead, inject life, movement, and attitude into your pose. Use flowing hair, wind-swept capes, dramatic leaning angles, or action-oriented stances.
Design Tip: Periodically fill your character sketch entirely with black ink. If the silhouette is still instantly recognizable and visually interesting on its own, your design will translate brilliantly into a physical piece.
Plan Your Composition Layers
If you want to create a truly high-end product, don’t stop at a single standalone piece. Consider a multi-piece diorama structure:
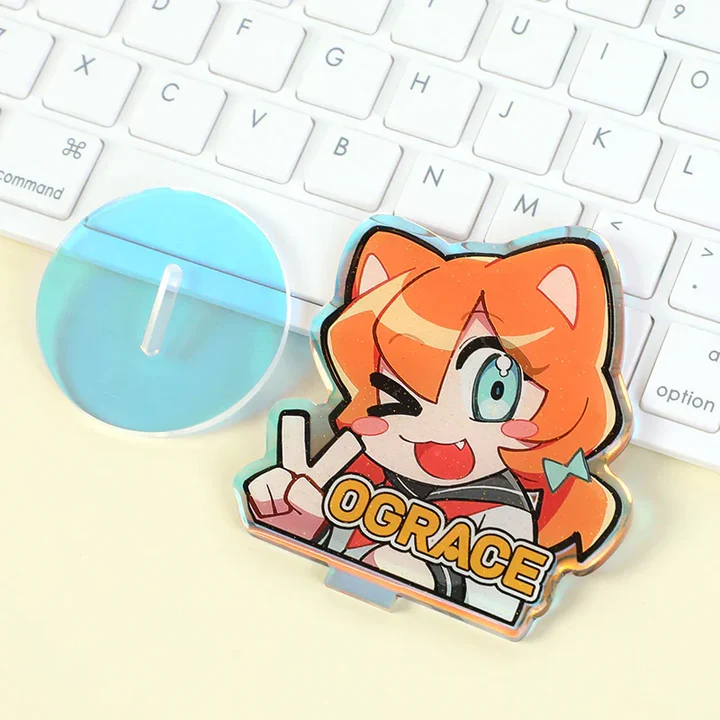
The Base: The foundation that holds everything together. Instead of a plain clear circle, sketch out a custom base that matches your theme, like a cracked stone floor, a magic circle, or a puddle of water.
The Main Subject: The focal point of your display, usually slotted firmly into the center of the base.
Background/Foreground Elements: Adding a separate backdrop (like a glowing moon, a shattered glass panel, or a cyberpunk window) or a tiny foreground accent (like a pet, floating embers, or a stray weapon) creates a stunning 3D parallax effect when viewed from different angles.
Refining the Line Art and Preparing Your Files
Once your rough sketch is finalized, clean up your line art and apply your colors. When your final illustration is looking pristine, it’s time to step into the technical setup required by professional manufacturers.
Defining the Cut Line
Every acrylic standee requires a clear acrylic border surrounding the outer perimeter of the artwork. This border acts as a shield, preventing the printed ink from chipping at the edges over time.
Using digital design software like Adobe Illustrator or Photoshop, you will need to create a smooth vector path around your character. This is your cut line. Generally, this line should sit exactly 1.5mm to 2mm away from your artwork’s outermost pixels. Keep this path as smooth as possible; jagged vector nodes will cause the manufacturer’s laser cutter to stutter, resulting in rough, unpolished edges.
Mastering the “Spot White” Ink Layer
This is arguably the most crucial step in the technical process. Because acrylic sheets are completely transparent, printing standard CMYK inks directly onto them will cause your artwork to look translucent, washed-out, and easily lost against dark backgrounds.
To ensure your colors pop with maximum vibrancy, you must create a dedicated Spot White layer (often saved as a solid color vector silhouette on a separate layer or channel in your file).
The manufacturing machine reads this layer and prints a solid base of opaque white ink first, followed precisely by your colorful artwork on top. However, you can use this to your creative advantage:
For solid characters and clothing: Keep the white underlay 100% solid.
For magic spells, lasers, or glass: Omit the white underlay completely. The colors will print directly onto the clear acrylic, creating a stunning, stained-glass effect that glows when ambient light passes through it.
For ghosts or holograms: Use a semi-transparent or half-tone white underlay to give the element an eerie, ethereal appearance.
Engineering Physical Balance and Integrity
A gorgeous design is practically useless if it continuously topples over on a fan’s shelf. Because you are dealing with real-world physics, your design must be structurally sound.
Calculate the Center of Gravity
If your character design features a massive, heavy weapon extended far to one side, or if the character is leaning dramatically, the standee becomes top-heavy. This places immense physical strain on the connecting tab at the bottom. To fix this, always ensure the center of gravity aligns vertically over the base tab. Balance a heavy left-side element by adding a prop, a swirling effect, or a background element on the right side.
Designing the Tab and Slot Fit
The tab at the bottom of your character must slide cleanly and snugly into the slot of your base plate. Standard manufacturing uses acrylic sheets ranging from 3mm to 4mm in thickness.
Because different manufacturing batches can vary by fractions of a millimeter, always communicate closely with your vendor. A tab that is too loose will cause your character to lean clumsily at an angle; a tab that is too tight will risk cracking or snapping the acrylic when a fan tries to force the pieces together.
Step 5: Choosing Premium Finishes and Showcasing
To turn your product into a true collector’s item that commands premium pricing, consider adding specialized manufacturing upgrades during the final ordering phase:
Holographic Overlays: Applying a rainbow or broken-glass holographic film to your background element adds a mesmerizing sense of movement as people walk past the display.
Double-Sided Printing: Print a mirrored image—or an alternate facial expression/damaged outfit—on the back of the acrylic so the standee looks immaculate from any viewing angle.
Custom Backing Cards: Treat the packaging as part of the art. Placing your flat-packed standee pieces against a beautifully themed cardboard backing card elevates the unboxing experience from the moment a fan holds it in their hands.
Conclusion
Transforming your digital sketches into a physical, eye-catching acrylic standee is a rewarding blend of creative illustration and spatial engineering. By breaking down your artwork into dynamic layers, mastering your technical cut lines, and optimizing your spot-white channels, you create much more than standard merchandise. You build a premium centerpiece for your community—a physical token of your creative world that fans will proudly showcase on their shelves for years to come.
read more : Kaiser Permanente Birth Injury Claims: A Parent’s Guide to Arbitration and Justice